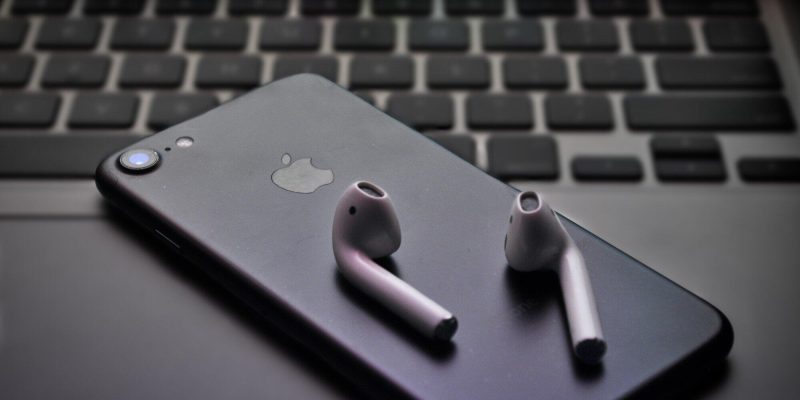
You’re grooving to your favorite beats, enjoying a podcast, or perhaps indulging in a hands-free phone call when suddenly, disaster strikes!
One of your AirPods decides to go rogue, leaving you with a mono audio experience or worse, no sound at all.
That might make it time to fix your AirPods. But how do you ensure you’re doing it right?
Read on for your complete guide to replacing AirPod parts.
Figure Out What to Replace
Start by identifying the problem with your AirPods. Is the sound quality deteriorating? Are they not charging properly?
Is there physical damage to the earbuds or the case? Understanding the issue will guide you in determining which part needs replacement.
Carefully examine your AirPods and their charging case. Look for any noticeable signs of damage or wear and tear.
Check the ear tips for tears or deformation, and inspect the charging contacts on the bottom of the earbuds and inside the case for any debris or corrosion.
Consider Airpod Replacement Cost
Once you’ve identified the parts in need of replacement, research the available options. Apple and authorized retailers offer genuine replacement parts, but they may come with a premium price tag.
Alternatively, you can explore third-party options, which may offer more affordable alternatives. Look at all your options when it comes to replacement AirPods.
Replacing Ear Tips
AirPods typically come with multiple sets of ear tips in different sizes to accommodate various ear shapes and sizes. Try a few sizes to find the one that gives you the best seal and comfort.
A proper seal not only enhances sound quality but also improves noise isolation and prevents your AirPods from falling out.
Replacing the Charging Case
Before purchasing a new charging case, ensure compatibility with your AirPods model. Apple periodically updates the design of its charging cases.
So, it’s essential to verify that the replacement case is compatible with your specific AirPods version. Consult Apple’s official website or authorized retailers for compatibility information.
Once your AirPods are securely in the new charging case and paired with your devices, test their function to ensure everything is working correctly.
Place the charging case on a wireless charger or connect it to a power source using the Lightning cable to verify that it charges your AirPods as expected.
Replacing AirPods
If only one of your AirPods is malfunctioning, you may not need to replace the entire set.
Apple and authorized retailers offer individual replacement AirPods, allowing you to replace the faulty earbud while retaining the functional one. This can be a cost-effective solution compared to purchasing a new set.
After replacing individual AirPods or the charging case, you may need to re-pair them with your devices. Place the new AirPods or the entire set into the charging case and open the lid.
Follow the instructions given on your phone to complete the pairing process, ensuring seamless connectivity.
Replacing Airpod Parts: Start Today
It’s not as hard as you might have thought to snap up AirPod parts and get your broken AirPods working again.
Do you want more tech and lifestyle advice? Make sure you read through some of our other excellent posts.


